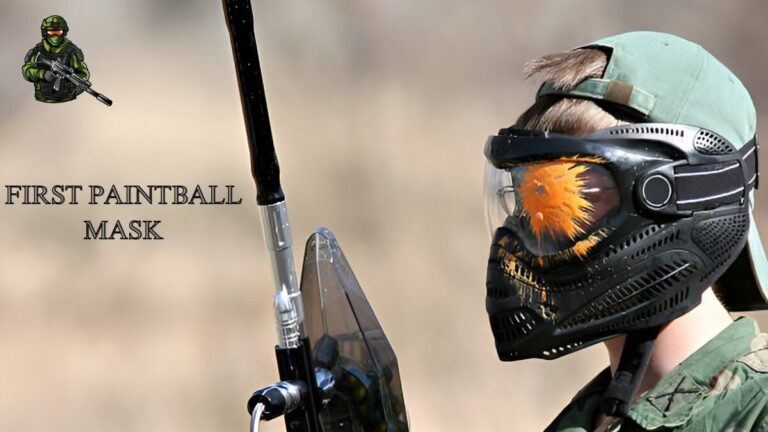
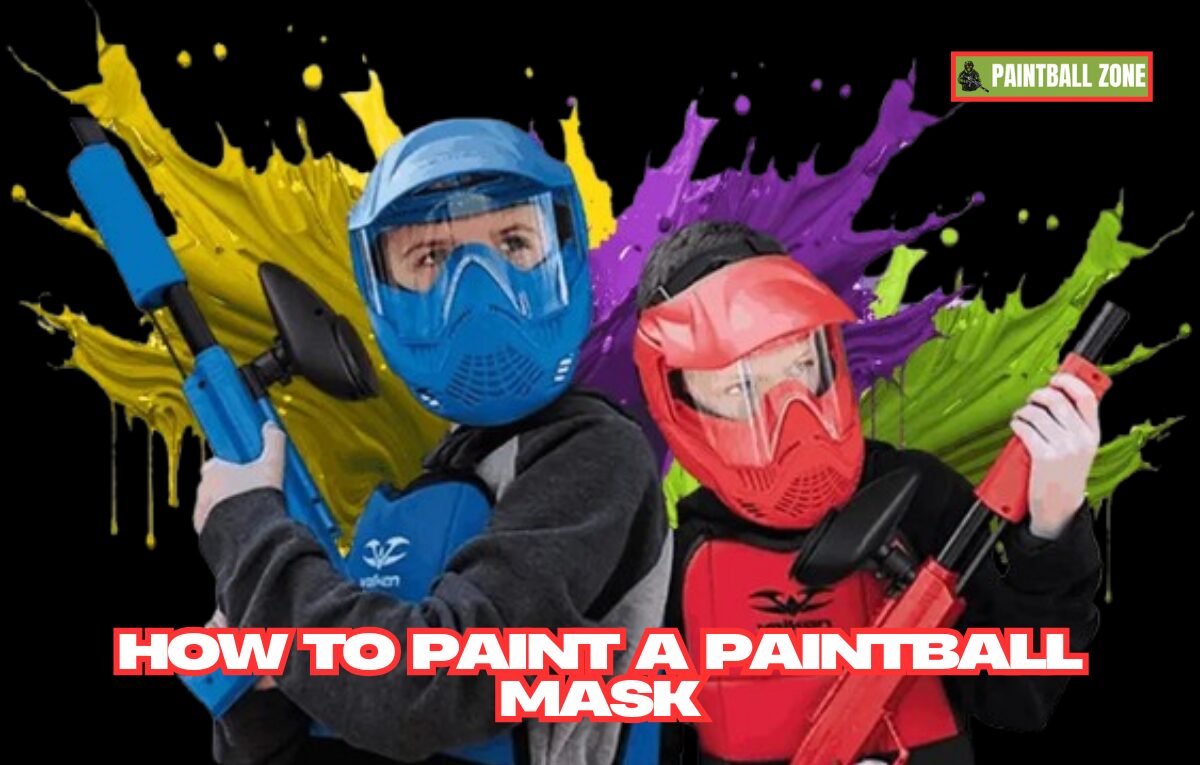
How to Paint a Paintball Mask: A Complete Guide for Beginners and Experts
Customizing a paintball mask is a fantastic way to express your personality and stand out on the field. Painting your mask not only gives it a unique look but can also enhance its durability and style. In this comprehensive guide, we’ll walk you through every step of the process to ensure your paintball mask turns out flawless. Whether you’re a beginner or a seasoned DIYer, this article will cover all you need to know about how to paint a paintball mask.
Introduction
Painting a paintball mask requires creativity, precision, and the right materials. A customized mask can elevate your gaming experience and make you feel more confident during matches. In this article, we’ll explore step-by-step instructions, essential tools, safety precautions, and creative ideas to help you design a mask that reflects your style.
Why Customize Your Paintball Mask?
- Express Your Style: A personalized mask sets you apart from other players.
- Increase Durability: Properly applied paint can protect your mask from wear and tear.
- Boost Confidence: Wearing a unique mask can enhance your confidence on the field.
Key Considerations Before Starting
Before you dive into the painting process, here are some factors to keep in mind:
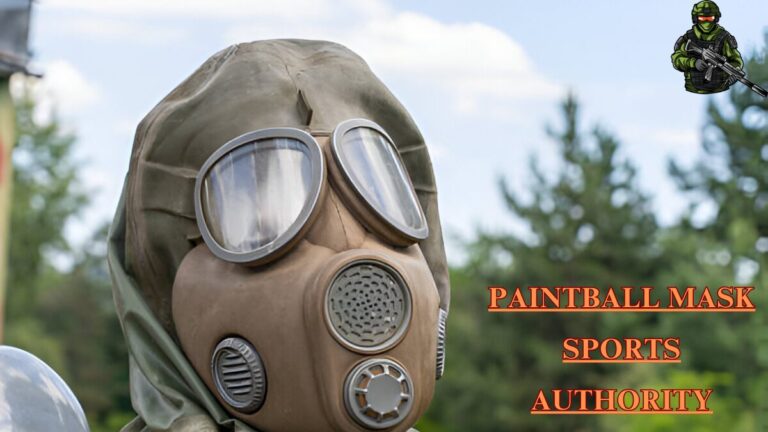
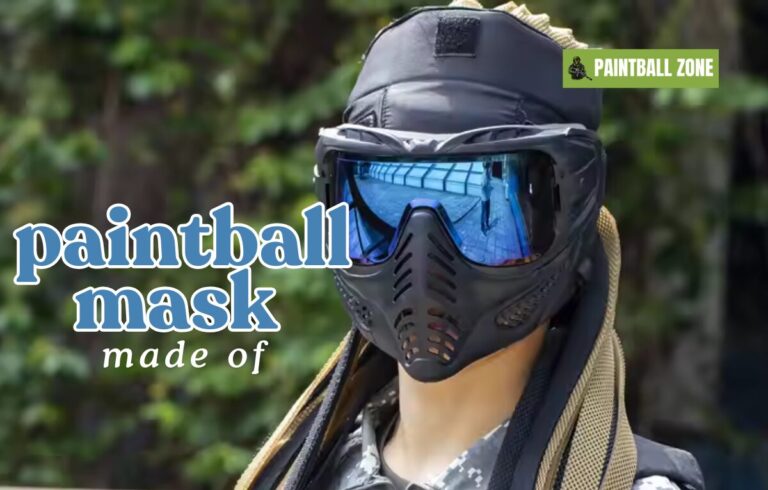
- Mask Material: Most paintball masks are made of plastic or rubber, which requires specific paints and primers.
- Safety Standards: Ensure that your mask retains its protective qualities after painting.
- Paint Type: Use non-toxic, durable paints designed for plastic or rubber surfaces.
Essential Materials for Painting a Paintball Mask
To get started, gather all the tools and materials you’ll need. Here’s a comprehensive list:
Tools and Equipment
- Sandpaper (medium-grit and fine-grit)
- Masking tape
- X-Acto knife or precision cutter
- Paintbrushes (various sizes)
- Airbrush (optional for intricate designs)
Paint and Primer
- Plastic-friendly primer
- Acrylic spray paints
- Clear protective topcoat (matte or glossy)
Additional Supplies
- Gloves
- Cleaning cloth
- Mild detergent or alcohol wipes
- Stencils (optional for patterns)
Pro Tip: Investing in high-quality materials will ensure a professional finish and long-lasting results.
Preparing the Paintball Mask
Preparation is a crucial step in achieving a smooth and durable paint job.
Cleaning the Mask
- Use a mild detergent or alcohol wipes to remove dirt, oils, and debris.
- Ensure the surface is completely dry before proceeding.
Sanding the Surface
- Lightly sand the mask with medium-grit sandpaper to create a rough surface for the paint to adhere to.
- Follow up with fine-grit sandpaper for a smooth finish.
Masking Off Sensitive Areas
- Cover lenses, straps, and other non-paintable areas with masking tape.
- Use an X-Acto knife to trim excess tape for precise coverage.
Case Study: A beginner painter skipped the sanding and masking steps, leading to peeling paint and damaged lenses. Proper prep ensures durability and professional results.
Applying the Primer
Priming creates a base layer that allows paint to adhere better and prevents peeling.
Choosing the Right Primer
- Use a plastic-friendly primer designed for outdoor use.
- Opt for spray-on primers for even application.
Applying the Primer
- Hold the spray can 6-8 inches away from the mask.
- Apply thin, even coats and allow each layer to dry for 15-20 minutes.
Inspecting the Surface
- Ensure the primer covers all areas evenly.
- Sand lightly with fine-grit sandpaper if the primer feels rough.
Quote: “A good primer is the foundation of a flawless paint job.” – Professional Paintball Customizer
Painting the Mask: Step-by-Step
The painting stage is where creativity comes to life. Follow these steps for a stunning finish.
Choosing a Color Scheme
- Select colors that match your team or personal style.
- Consider camouflage patterns for tactical advantage.
Applying Base Colors
- Start with the lightest color as the base layer.
- Use smooth, even strokes and apply 2-3 thin coats.
Adding Details and Patterns
- Use stencils or freehand techniques for intricate designs.
- Airbrushing can achieve gradients and professional-level detail.
Example Patterns:
- Camo: Blends seamlessly with outdoor environments.
- Flames: Adds an aggressive, bold look.
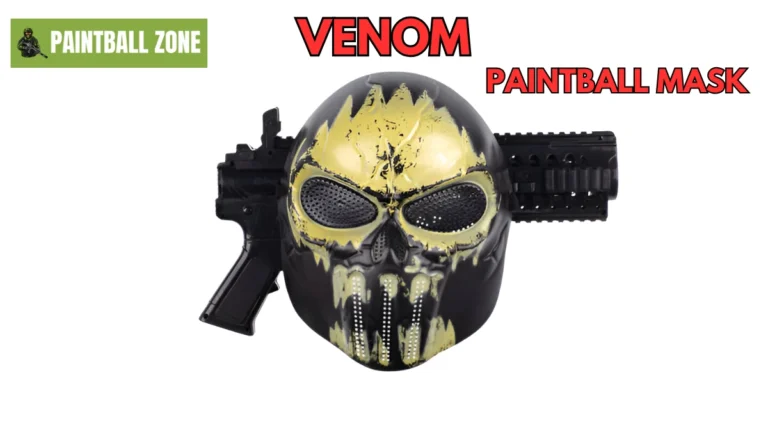
- Skulls: A popular design among advanced players.
Sealing the Paint Job
A clear protective topcoat is essential for durability and a polished appearance.
Types of Topcoats
- Matte: Provides a subtle, non-reflective finish.
- Glossy: Offers a shiny, vibrant look.
Applying the Topcoat
- Spray 2-3 thin coats, allowing each to dry fully.
- Avoid over-spraying to prevent drips and uneven textures.
Pro Tip: Always apply topcoats in a well-ventilated area for safety.
Common Mistakes to Avoid
Painting a paintball mask is a rewarding experience, but mistakes can happen. Here’s what to watch out for:
Skipping Surface Preparation
Skipping sanding or cleaning can lead to uneven paint adhesion.
Applying Thick Coats
Thick layers of paint are prone to cracking and peeling.
Ignoring Safety Precautions
Always wear gloves and work in a ventilated area to avoid inhaling fumes.
Fact: According to a survey of paintball enthusiasts, 70% of failed paint jobs were due to improper surface prep.
Creative Ideas for Custom Designs
Unleash your creativity with these unique ideas for your paintball mask:
- Glow-in-the-Dark Paint: Stand out during nighttime games.
- 3D Textures: Use textured paint for a realistic feel.
- Personal Logos: Represent your team or personal brand.
Table: Comparison of Paint Types
| Paint Type | Durability | Ease of Use | Finish |
| Acrylic Spray Paint | High | Easy | Matte/Glossy |
| Airbrush Paint | Very High | Moderate | Customizable Finish |
| Glow-in-the-Dark Paint | Moderate | Easy | Unique Glow Effect |
Conclusion
Painting a paintball mask is a rewarding way to showcase your creativity while maintaining functionality. By following this guide, you can achieve professional results and enjoy a customized mask that turns heads on the field. Remember to prioritize preparation, use quality materials, and unleash your imagination to create a design that’s uniquely yours.
FAQs
- Can I paint over an old paintball mask design?
Yes, but ensure the old paint is sanded down and the surface is primed. - What type of paint is best for a paintball mask?
Acrylic spray paint or airbrush paint works best for plastic surfaces. - Is it safe to paint the mask’s lens?
No, painting the lens can obstruct vision and compromise safety. - How long does the paint take to dry?
Typically, 24 hours for full curing, but drying times may vary. - Can I use regular spray paint?
It’s better to use plastic-friendly spray paint for durability. - Do I need an airbrush for painting?
No, but an airbrush provides better detail for complex designs. - How can I remove mistakes during painting?
Use acetone or rubbing alcohol to correct errors before the paint dries. - How many coats of paint should I apply?
Apply 2-3 thin coats for even coverage and durability. - What safety precautions should I take?
Wear gloves, and a mask, and work in a well-ventilated area. - Can I customize masks for my whole team?
Absolutely! Follow the same steps and use stencils for uniform designs.