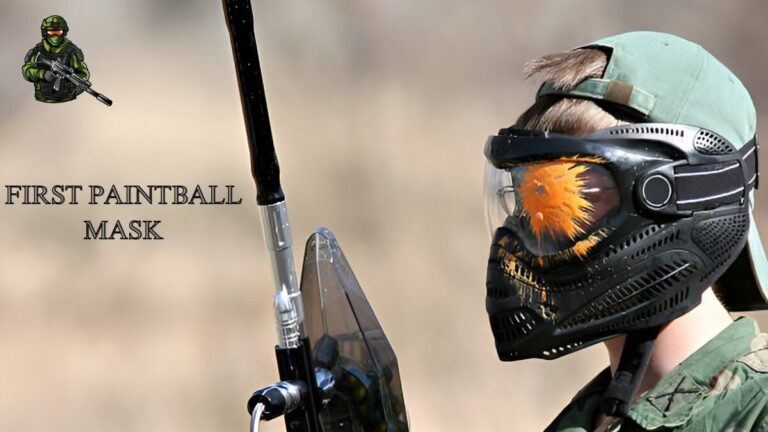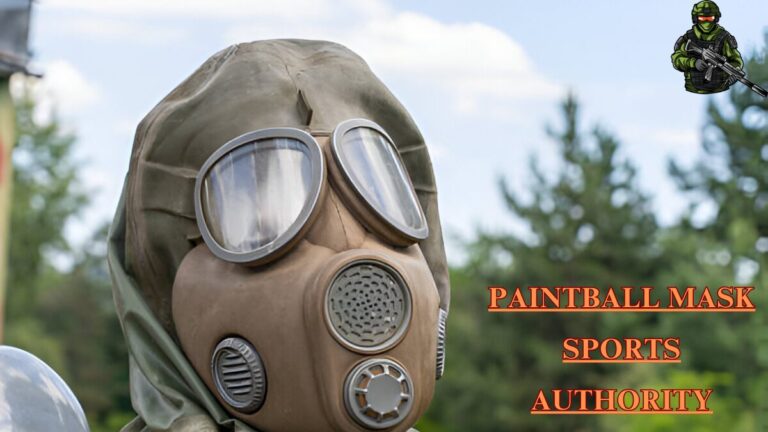
How to Paint a Paintball Mask: A Step-by-Step Guide
Personalizing your paintball mask is a fantastic way to stand out on the field and express your creativity. Whether you want a professional-looking design or something playful, painting a paintball mask is a fun DIY project. This guide will take you through the process step by step, ensuring a durable, attractive result.
Why Paint a Paintball Mask?
A customized paintball mask isn’t just about aesthetics; it serves practical purposes too. Here’s why many paintball enthusiasts take this creative leap:
- Personal Expression: Show off your unique personality with a one-of-a-kind design.
- Visibility: Stand out on the field for easier team recognition.
- Durability: The right paint adds an extra layer of protection to your gear.
- Cost-Effective Customization: Transform a standard mask into something extraordinary without breaking the bank.
Materials You’ll Need
Before diving into the painting process, gather these essential materials:
Tools and Supplies:
- Paintball mask (preferably clean and free of scratches)
- Acrylic spray paint or plastic-specific paint
- Primer (plastic-compatible)
- Sandpaper (grit 400–600 for smoothing)
- Painter’s tape or masking tape
- Craft knives or scissors
- Fine paintbrushes (optional, for details)
- Drop cloths or old newspapers
- Respirator or face mask (for ventilation safety)
- Latex gloves
Having everything ready ensures a smooth process from start to finish.
Step 1: Prepare Your Workspace
Choose an area with good ventilation, such as a garage with open doors or an outdoor space. Lay down drop cloths or old newspapers to protect surfaces from accidental paint splatters.
Pro Tip: Avoid working on humid or windy days, as they can affect paint adhesion and drying.
Step 2: Clean and Sand the Mask
A clean surface ensures paint adheres properly. Follow these steps:
- Wash the mask using warm water and mild soap to remove dust, oils, and dirt.
- Dry completely with a lint-free towel.
- Sand the surface lightly using 400–600 grit sandpaper. Focus on glossy areas to create a rougher surface for the primer to grip.
Important: Be gentle while sanding; you want to scuff the surface, not damage the mask.
Step 3: Mask Off Areas You Don’t Want to Paint
Use painter’s tape to protect areas like the lens, straps, and ventilation holes. Carefully cover these sections to avoid accidental paint splashes.
- Lenses: Completely seal the edges with tape to ensure no paint seeps through.
- Straps: Remove or cover with tape for easier painting.
- Vents: Use small pieces of tape or cotton balls to block airflow areas.
Step 4: Apply a Plastic-Compatible Primer
Primer is essential for creating a strong bond between the mask and paint. Select a primer specifically designed for plastic surfaces.
- Hold the primer can 8–12 inches away from the mask.
- Apply a light, even coat, avoiding drips or heavy build-up.
- Allow the primer to dry completely (usually 30 minutes to an hour) before applying additional coats if needed.
Pro Tip: Two thin coats of primer are better than one thick coat for smoother results.
Step 5: Paint Your Design
Now for the exciting part painting! Here’s how to get started:
Base Coat:
- Choose a base color that complements your design. Popular choices include black, white, or camouflage tones.
- Spray the paint in smooth, even strokes, maintaining an 8–10 inch distance.
- Let the first coat dry for 20–30 minutes, then apply a second coat if necessary.
Adding Patterns or Details:
- For sharp lines or intricate designs, use stencils or painter’s tape.
- Hand-paint details with fine brushes for custom touches like logos, names, or textures.
Tips for Spray Painting:
- Always start and stop the spray beyond the edges of the mask to prevent uneven coverage.
- Shake the paint can vigorously for consistent color.
Step 6: Allow the Paint to Cure
After applying the paint, let it cure properly. This step ensures the paint hardens and adheres firmly to the surface.
- Wait at least 24 hours before handling the mask.
- For maximum durability, avoid using the mask for 48–72 hours after painting.
Pro Tip: Place the mask in a dust-free, dry area during curing to avoid blemishes.
Step 7: Seal the Paint (Optional but Recommended)
A clear sealant adds an extra layer of protection, preventing chipping or fading. Choose a matte or glossy finish based on your preference.
- Hold the sealant can 8 to 12 inches away from the mask.
- Apply a thin, even coat and let it dry for at least 30 minutes.
- Repeat if additional protection is desired.
Common Mistakes to Avoid
Avoid these pitfalls to ensure your project is a success:
- Skipping Primer: Without a primer, paint may peel or flake over time.
- Overloading Paint: Too much paint at once can cause drips and uneven textures.
- Ignoring Ventilation: Spray paint fumes are hazardous; always work in a well-ventilated space.
- Not Masking Properly: Paint on lenses or vents can affect performance and visibility.
Creative Design Ideas
Need inspiration? Try these popular designs:
- Camouflage: Blend into wooded terrains with greens, browns, and blacks.
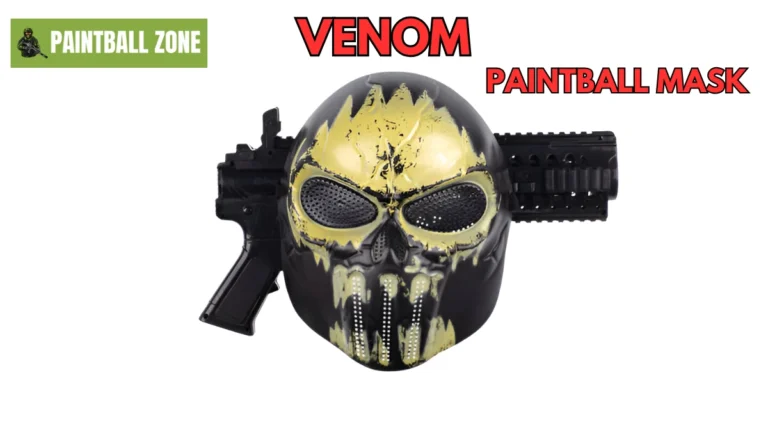
- Skulls and Flames: Intimidate opponents with bold, edgy patterns.
- Galaxy Theme: Sponges create cosmic swirls with blues, purples, and whites.
- Team Logo: Showcase team spirit by painting your team’s emblem.
Maintaining Your Painted Mask
To keep your paint job looking fresh:
- Clean gently with a damp cloth; avoid abrasive scrubbing.
- Store properly in a dry, cool place to prevent scratches.
- Reapply sealant every few months if the mask undergoes heavy use.
FAQs
Can I use regular spray paint?
No, regular spray paint isn’t durable on plastic. Always use paint specifically designed for plastic surfaces.
How long does the entire process take?
Including drying and curing times, painting a paintball mask can take 2–3 days.
Is it safe to paint the lens?
No, painting the lens compromises visibility and safety. Always mask off the lens or remove it before painting.
Conclusion
Customizing your paintball mask is a rewarding project that combines creativity with functionality. By following the steps in this guide—preparing the mask, applying primer, painting, and sealing you can achieve a professional-looking result that stands the test of time. Whether crafting a camouflage masterpiece or a vibrant design, your personalized mask will make a statement on the paintball field.