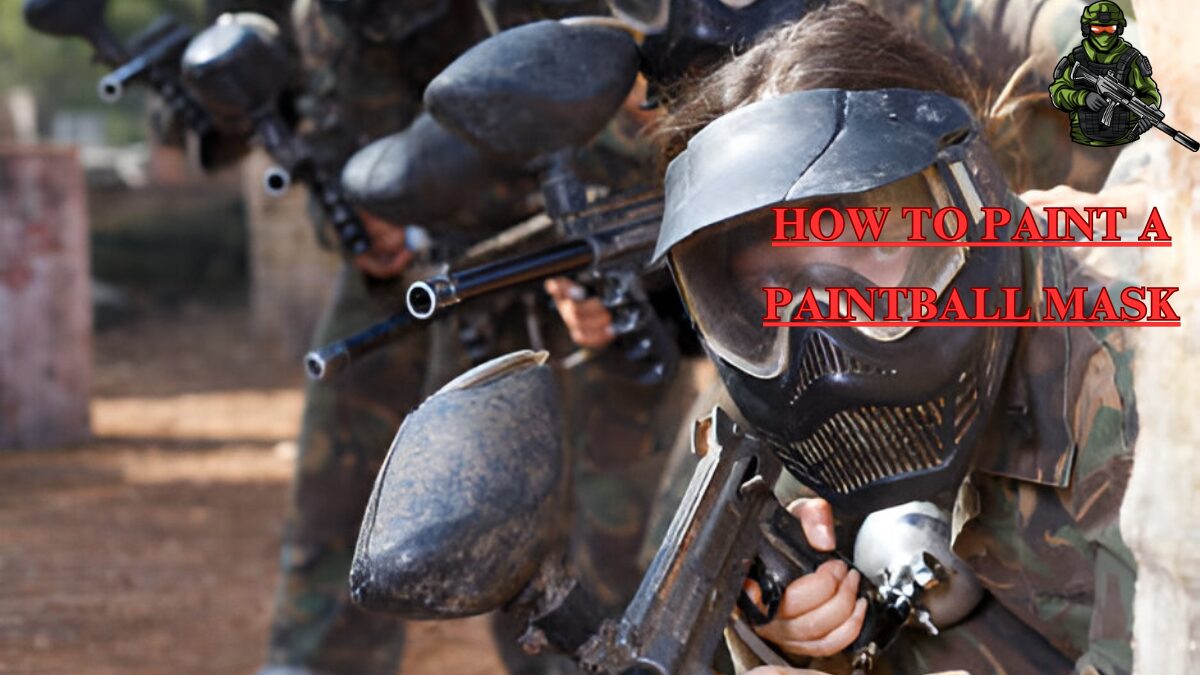
How to Paint a Paintball Mask: A Step-by-Step Guide
Are you ready to give your paintball mask a fresh, custom look? Whether you want to stand out on the field or just add a personal touch to your gear, painting your paintball mask is an excellent way to show off your creativity. In this detailed guide, we’ll walk you through everything you need to know about How to Paint a Paintball Mask , from selecting materials to maintaining your design long-term.
Why Paint Your Paintball Mask?
Painting your paintball mask isn’t just about aesthetics; it’s about adding a layer of personality and protection to your gear. Here are a few reasons why you should consider painting your mask:
Personalization and Creativity
A custom-painted mask is a great way to express your personality or team spirit. It’s the one piece of gear that truly sets you apart from the crowd. You can go for bold, bright designs, camo patterns, or sleek, minimalist looks. The possibilities are endless, and each choice will make your mask uniquely yours.
Better Visibility and Identification
Having a one-of-a-kind mask can also help you stand out among your team and opponents. In tournaments, teammates can easily spot you with your distinctive paint job. Whether you want your mask to blend in or stand out, painting gives you control over how visible your gear is on the field.
Durability and Protection
A good paint job does more than just look cool—it can help protect your mask from damage. A well-applied coat of paint can create an additional protective layer that defends against scratches, dirt, and other wear and tear that comes with frequent use. Over time, your mask will maintain its new look and resist the elements better than if it were left bare.
What You Need to Paint Your Paintball Mask
Before starting the painting process, it’s important to gather the right materials. Using the correct paint, primer, and protective coatings ensures a smooth and long-lasting finish.
Paint
The paint you choose is critical to achieving a professional, durable result. Not all paints work well with plastic surfaces, so make sure you select a spray paint designed for plastics. Krylon Fusion and Rust-Oleum Universal are popular brands because they bond well with plastic, offering excellent coverage and durability.
Primer
Priming your paintball mask before applying the color is a crucial step. Primer helps create an even surface, allowing the paint to adhere better. A good plastic primer, such as Rust-Oleum Plastic Primer, works best for this purpose. It’ll ensure that your paint sticks and lasts longer without chipping or peeling.
Sandpaper
Fine-grit sandpaper (around 220-grit) is needed to prep the surface of your mask. Sanding lightly will give the paint something to grip, helping it stay on the mask for a longer period. Be careful not to scratch the mask too aggressively—just enough to roughen up the surface slightly.
Preparing Your Paintball Mask for Painting
Before you start painting, it’s important to properly prepare your mask. This will help ensure that the paint adheres smoothly and evenly.
Cleaning the Mask
The first step in preparing your mask is cleaning it thoroughly. Dirt, dust, and oils from your hands can interfere with the paint’s ability to stick. Wash the mask with mild soap and warm water, using a soft cloth or sponge to scrub away any grime. Once the mask is clean, dry it completely before moving to the next step.
Sanding the Surface
Once the mask is clean and dry, it’s time to sand the surface. Using fine-grit sandpaper, lightly scuff the surface of the mask. This step creates small grooves that help the primer and paint adhere better. Be sure to sand in small circular motions to keep the texture even.
Masking Off Areas
Next, use masking tape to protect parts of the mask that you don’t want to paint, such as the lens or the vents. This step is crucial for ensuring clean, sharp lines in your design. If you want to create specific patterns or sections, carefully apply tape to create the shape and areas where you want the paint to stay.
Designing Your Paint Job
Now comes the fun part—designing your paintball mask! Whether you want a simple, solid color or a complex design, planning ahead will help ensure the final result is exactly what you envision.
Sketching Your Design
Before applying any paint, sketch your design on paper. This will give you a clear idea of what you want to create and how it will look on your mask. Whether it’s a simple color block or a detailed logo, sketching it out first gives you a guide to follow.
Choosing Your Color Scheme
Picking the right color palette is key to achieving a standout paint job. Decide on your primary colors and any secondary or accent colors that will complement the design. Don’t be afraid to experiment with bold, contrasting colors to make your mask pop on the field.
Using Stencils for Precision
If you’re aiming for a detailed design or specific logo, consider using stencils. You can create stencils yourself with masking tape or buy pre-made ones. Stencils help you achieve clean lines and accurate shapes, which is especially helpful if you’re trying to reproduce logos or intricate designs.
Applying the Paint
Once your design is ready, it’s time to start applying the paint. Follow these steps carefully to ensure an even and smooth finish.
Priming the Mask
Start by applying a coat of primer to the mask. Hold the primer spray can about 6-8 inches away from the surface of the mask, and spray in even, light layers. Allow the primer to dry completely before moving on to the next step. This will ensure a smooth base for your paint to adhere to.
Painting the Mask
Now it’s time to apply the paint. Use the same technique as with the primer: spray in light, even coats. Hold the spray can at the same distance from the mask and apply thin layers rather than a heavy one. Let each layer dry before applying the next one. If you’re using multiple colors, wait for each layer to dry before switching colors to avoid smudging.
Adding Details and Layers
If your design involves intricate details, now’s the time to use brushes for fine work. Use small, fine-tipped brushes for detailing and adding any last-minute accents. Whether you’re painting stripes, logos, or other small features, this is the time to add depth to your mask.
Sealing and Finishing Touches
After your mask is fully painted, it’s important to apply a clear coat to protect the design. This will ensure your work lasts through numerous paintball games.
Applying a Clear Coat
Once your paint has dried, apply a coat of clear sealer or topcoat. A gloss or matte finish will depend on your personal preference. Apply thin, even layers to avoid creating uneven spots. Allow each layer to dry completely before applying the next one.
Final Touches
Once the clear coat has dried, check for any areas that might need a touch-up. This could include fine details or edges where the tape was removed. If necessary, carefully touch up those areas with paint or a fine brush.
Curing Time
Let your mask cure for at least 24-48 hours before using it. The longer you let it dry, the better the paint will bond to the surface. While it may be tempting to jump right in and play, giving your paint ample time to cure ensures a longer-lasting finish.
Caring for Your Painted Paintball Mask
Taking care of your custom-painted mask is crucial to keep it looking sharp and protecting the design. Follow these tips to maintain your painted mask:
Cleaning and Maintenance
When cleaning your mask, avoid using harsh chemicals or abrasive scrubbing. Use mild soap and water to gently clean the mask. If you need to remove dirt or paint splatters, use a soft cloth and avoid scrubbing too hard. Always dry your mask thoroughly before storing it.
Touching Up the Paint
Over time, your mask might get scratched or chipped. To maintain its appearance, touch up any areas that need repair with the same paint you originally used. This will keep the mask looking fresh and vibrant for longer.
Storing Your Mask Properly
When not in use, store your paintball mask in a safe, dry place. Avoid leaving it in direct sunlight, as prolonged exposure to UV rays can cause the paint to fade. Consider using a protective case to keep the mask from getting scratched or damaged.
Conclusion
Painting your paintball mask is a fun and creative way to personalize your gear, boost your confidence on the field, and stand out from the competition. By following the steps outlined in this guide, you’ll be able to create a paint job that not only looks great but lasts through countless paintball games. Whether you’re a seasoned player or a beginner, a custom-painted mask is a great way to show off your personality and take your paintball experience to the next level.
FAQs
1. How long does it take for the paint on a paintball mask to dry?
It generally takes 24-48 hours for paint to fully cure. However, drying times can vary based on humidity and temperature.
2. Can I use regular spray paint on my paintball mask?
No, it’s important to use spray paint designed for plastic, like Krylon Fusion or Rust-Oleum Universal, for best results.
3. Will the paint scratch off easily?
If applied correctly with a primer and clear coat, the paint should be durable and resistant to scratching.
4. Can I paint the lens of my paintball mask?
It’s not recommended to paint the lens, as it may obstruct your vision. Mask off the lens area carefully before painting.
5. How do I protect the paint on my mask?
After painting, apply a clear coat to seal and protect the paint. Be sure to handle the mask with care to avoid scratching the surface.
6. Can I use stencils to paint a logo on my mask?
Yes! Using stencils is an excellent way to add precise, professional-looking logos and designs.
7. Should I sand the mask before painting?
Yes, lightly sanding the mask helps the primer and paint adhere better and results in a smoother finish.
8. Can I add a matte finish to my painted mask?
Yes, you can choose a matte or glossy finish, depending on your preference. Just pick the appropriate clear coat for your desired finish.
9. How can I remove paint from my mask if I make a mistake?
If you make a mistake, you can remove the paint by lightly sanding the area and reapplying the primer and paint.
10. How often should I touch up my paintball mask?
It depends on how often you play. If you notice chips or scratches, it’s best to touch up the mask as soon as possible to maintain its appearance.