Paintball Mask Paint Job: A Complete Guide to Customizing Your Mask
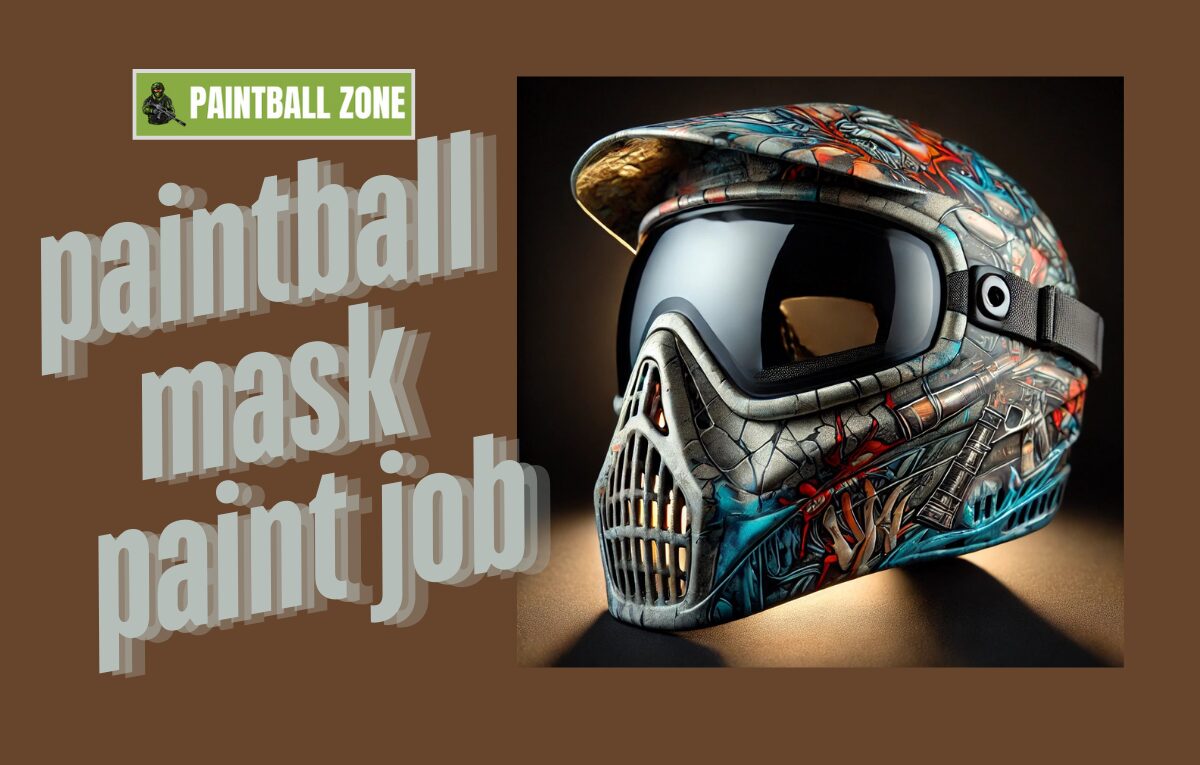
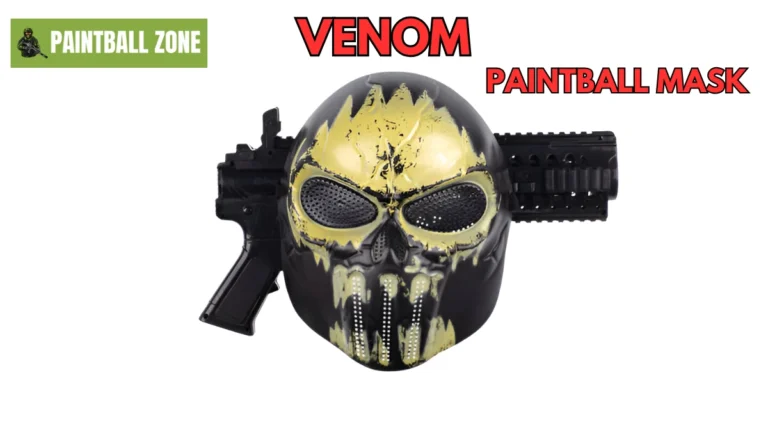
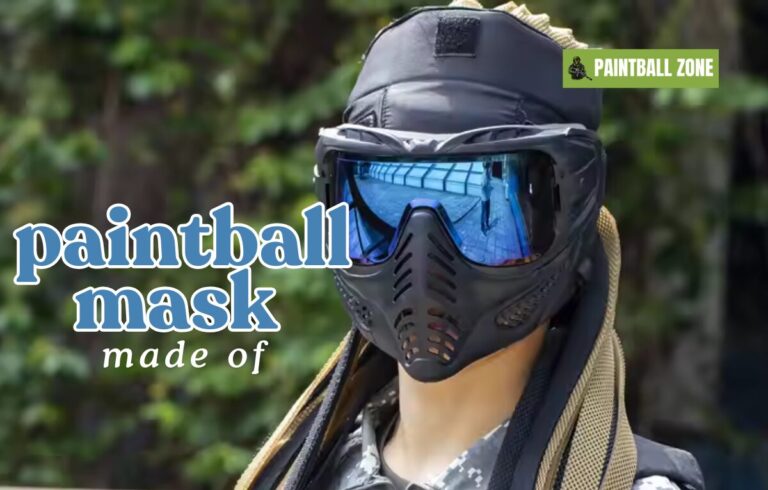
A paintball mask paint job is a great way to personalize your gear, make a statement on the field, and stand out from other players. Whether you want a custom airbrushed design, a sleek matte finish, or a battle-worn camouflage look, painting your mask allows you to express your style while maintaining functionality.
In this guide, we’ll cover everything you need to know about painting a paintball mask, including the materials, techniques, and best practices to ensure a professional-looking and durable finish.
Why Customize Your Paintball Mask?
Customizing your paintball mask is not just about aesthetics—it also enhances your experience. Here are some key benefits:
1. Unique Identity: A custom mask helps you stand out on the field and express your personality.
2. Enhanced Visibility: Some paint jobs can improve contrast, making it easier to spot teammates and opponents.
3. Protection & Durability: A high-quality paint job can add a protective layer to your mask.
4. Camouflage Advantage: Custom camo patterns can help you blend into different environments.
5. Team Spirit: Matching designs for team members creates a sense of unity.
Materials and Tools Needed
Before starting your paint job, gather these essential materials:
Paint Options:
| Paint Type | Features | Best For |
| Acrylic Paint | Easy to use, water-resistant when sealed | Basic designs |
| Spray Paint | Smooth finish, quick application | Full mask coverage |
| Airbrush Paint | High precision, professional look | Detailed artwork |
| Plastic Paint | Adheres well to plastic | Base coat for durability |
Other Essentials:
- Sandpaper (400-600 grit)
- Masking tape
- Primer (plastic-specific)
- A clear sealant or top coat
- Stencils or decals (optional)
- Fine brushes or airbrush kit
- Gloves and safety mask
Preparing Your Paintball Mask
Proper preparation is crucial for a lasting paint job. Follow these steps:
1. Clean the Mask
- Use soap and water to remove dirt and oil.
- Dry completely with a lint-free cloth.
2. Disassemble If Possible
- Remove the lens and any detachable parts.
- Cover non-paintable areas with masking tape.
3. Sand the Surface
- Lightly sand the plastic surface to create texture.
- Wipe away dust with a microfiber cloth.
4. Apply a Primer
- Use a plastic-specific primer to ensure paint adhesion.
- Apply 1-2 light coats and let it dry completely.
Step-by-Step Guide to Painting Your Paintball Mask
1. Choose a Design
- Solid color
- Camo pattern
- Custom graphics
- Weathered/battle-worn look
2. Mask Off Areas Not to be Painted
- Use painter’s tape to cover the lens, ventilation areas, and straps.
3. Apply Base Coat
- Use thin layers to prevent dripping.
- Allow each layer to dry before applying the next.
4. Add Custom Details
- Use stencils or hand-paint designs for detailed artwork.
- Consider airbrushing for smooth gradients.
5. Apply a Protective Sealant
- Use a clear coat to protect the design from scratches and wear.
- Let it cure for 24-48 hours before reassembling.
Paintball Mask Paint Job Case Studies
1. Tactical Camouflage Design
Challenge: Needed a mask that blends into forest environments.
Solution: A multi-layer camo paint job using natural leaf stencils was applied.
Result: Improved stealth on the field, making the player harder to spot.
2. Custom Team Logo
Challenge: I wanted a professional look for a tournament team.
Solution: Airbrush techniques were used to apply the team logo to each member’s mask.
Result: Created a cohesive team identity with a standout visual appeal.
3. Glossy Chrome Finish
Challenge: Desired a sleek, futuristic look.
Solution: Use metallic spray paint with a high-gloss clear coat.
Result: Achieved a high-end custom paint job that turned heads on the field.
Common Mistakes to Avoid
1. Skipping Primer
- The paint won’t adhere properly without a primer.
2. Applying Thick Coats
- Thick layers cause drips and uneven textures.
3. Not Allowing Enough Drying Time
- Rushing the process leads to smudges and imperfections.
4. Using the Wrong Paint Type
- Some paints may crack or peel if not designed for plastic.
5. Not Sealing the Paint Job
- Without a clear coat, the design will wear off quickly.
Conclusion
A paintball mask paint job is a fantastic way to customize your gear, enhance your style, and improve functionality on the field. By choosing the right materials, following proper techniques, and taking care of your mask, you can create a stunning, long-lasting design that makes you stand out.
Whether you want a tactical advantage, a bold artistic statement, or a team-coordinated look, painting your mask is an exciting and rewarding project.
Now it’s your turn! Have you customized your paintball mask? Share your designs and experiences in the comments!
FAQs
1. Can I use any spray paint on my paintball mask?
No, always use plastic-friendly spray paint for durability.
2. How long should I wait before using my painted mask?
At least 48 hours to ensure the paint fully cures.
3. Can I paint over an old design?
Yes, but you must sand and prime the mask first.
4. Will the paint affect mask ventilation?
If you paint over vents, airflow will be restricted avoid this!
5. Can I remove the paint if I change my mind?
Yes, use rubbing alcohol or paint remover carefully.
6. What’s the best way to prevent scratches?
A clear protective sealant helps prevent scratches.
7. Can I use decals on my mask?
Yes, decals add detail just seal them with a clear coat.
8. Will the paint job affect visibility?
Only if you paint over the lens avoid this!
9. Can I hand-paint my mask without spray paint?
Yes, acrylic paints work well but need sealing.
10. How do I keep my mask looking new?
Regularly wipe it clean and store it properly.

